So far, setting up a car sound system was pretty easy. You get to buy a ready-made speaker box and an amplifier. Then, you proceed to plug in the speaker wires and hook up the power to the amp. That’s that!
However, in the world we live in today, it doesn’t seem to be as easy as that. This is because the amplifier generates a large amount of power, and modern-day speakers can bring down your car windows.
You may find it quite confusing to begin the setup process. That’s not so bad, because there are various configurations to choose from. The first thing to do before anything is to get the right components. Of course, you have to work in line with your budget.
To figure out your preference, you have to ask yourself a few questions. Do you want extra bass? Do you want to have more precise sounds when the instrumentals hit you? Do you want your music ever so loud? Once you’ve figured all these, next is to work with what you have.
Here, we’ll reward you with straightforward tips on how to set up your car audio system.
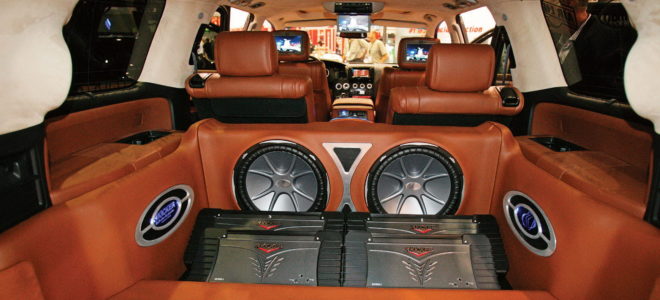
How to set up a car audio sound system
source: fntalk.com
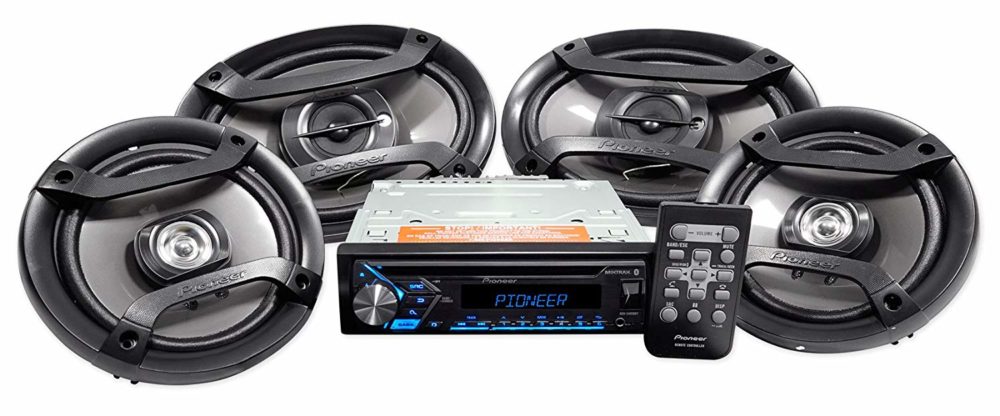
The components:
– Stereo receiver unit
– Car amplifiers
– Stereo speakers
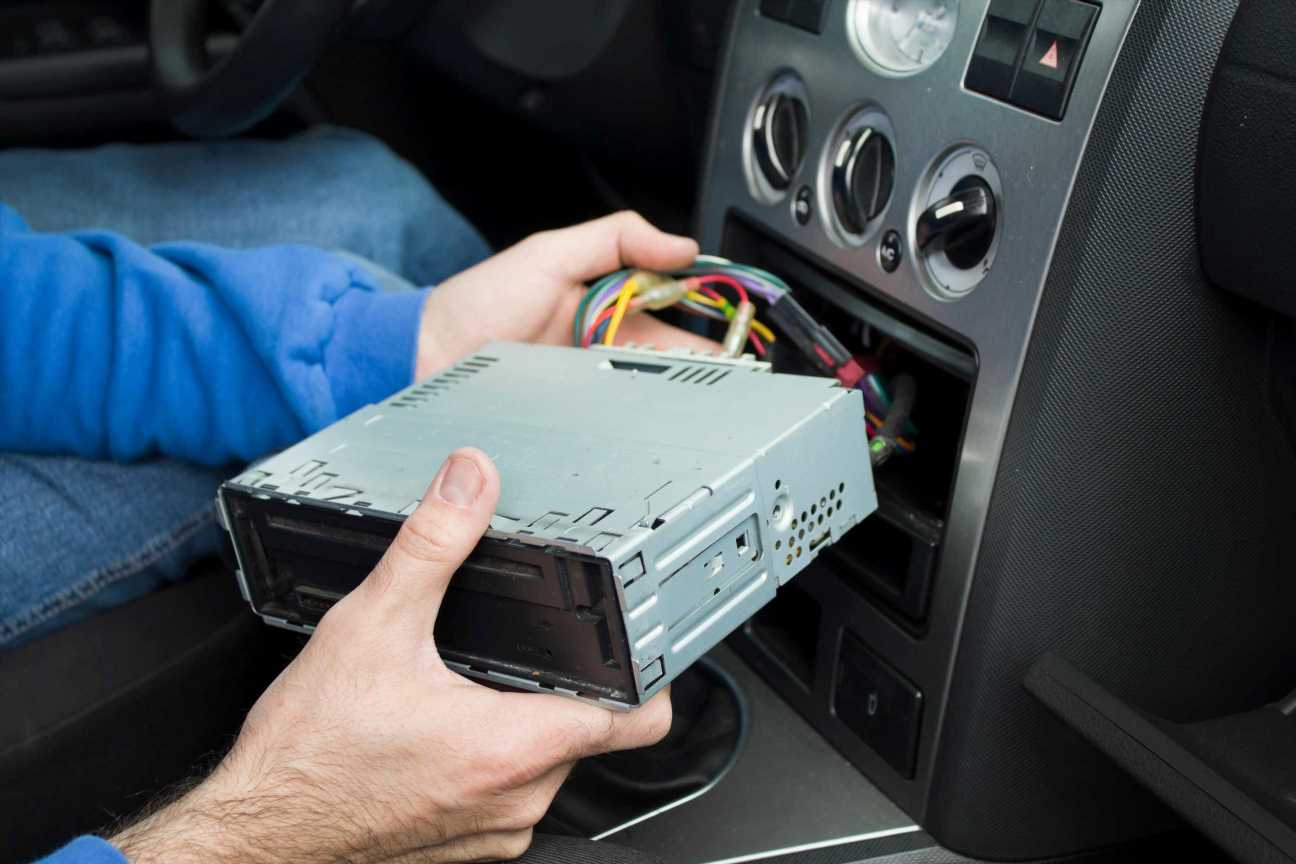
How to Install the car sound system
source: gaugemagazine.com
Now you have all the components in place, and you’ll need to get the right tools to ensure that you perform the setup correctly.
Things you’ll need:
– A fully charged screwdriver (unless you want to go old school)
– Socket wrench, spool of speaker wire for connections.
– Four gauge wire if your amplifier is enormous (1000 watts), but 6 to 10 gauge if yours is 800 watts or lower
– Wire strippers, female to female and female quick slide-wire connectors
– Small metal screws to install the amplifier.
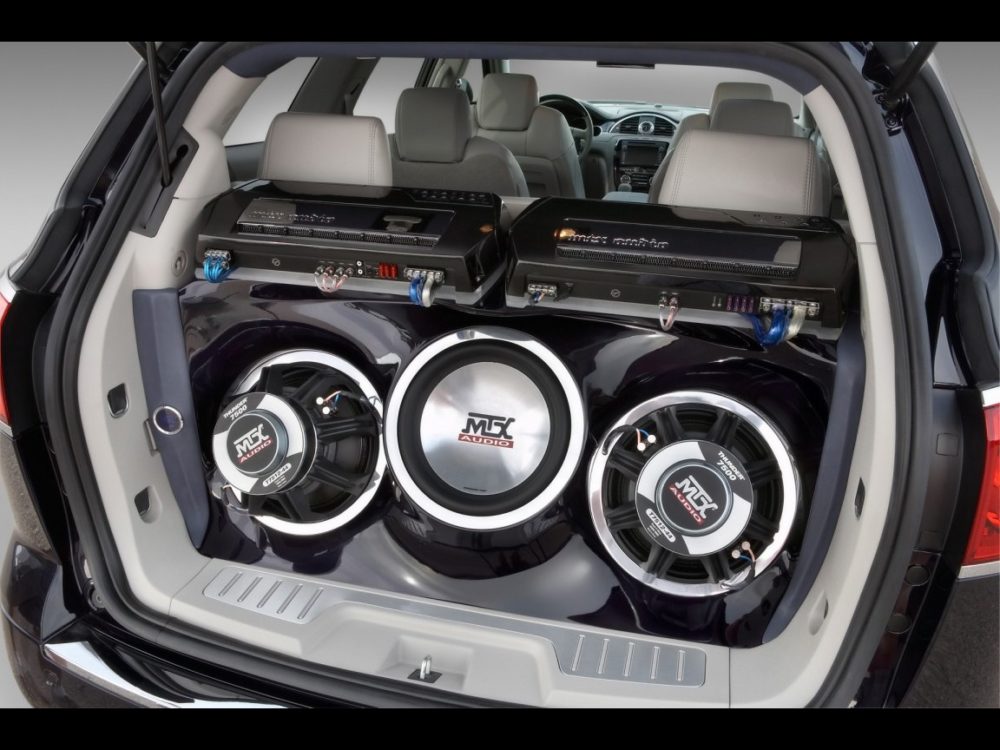
Basic installation steps
source: arthurrothsteinarchive.com
STEP 1
The proper way to begin is to disconnect the car battery. Then pull one of the door speakers and identify the color of the wires. You’ll understand the car manufacturer set up the wiring to the stereo system.
STEP 2
Next thing to do is to remove the other door speaker. You’ll notice similar and different colors of the wires. Proceed to pull the stereo and identify the colored wires from the door speakers. These wires will likely be in a harness that links to the back of the stereo. Repeat this process for speakers at the back seat. When this step is through, you can now distinguish right side speakers from left and front speakers from the back.
STEP 3
Locate the ground and the main power from the car stereo. The power usually appears in red, while the ground is primarily black. Now, do well to disconnect the wire harness from the rear of the old stereo receiver. You can now unscrew the ground wire.
STEP 4
Move to cut and strip the red power wire, then take out the former receiver. Before you proceed to install the new component, work on the speakers. Install them in the right places, and if the need arises, you can strip and attach the quick female slides. Ensure that you connect the solid color wire (or red) to the positive (+) and the striped cable (or black) to the negative (-) points on the speakers.
STEP 5
Do well to connect the wires according to their color to the back of the receiver. You can now attach the RCA cables to the RCA outputs (your new receiver will come with a long RCA cable. If it doesn’t, do well to purchase one). Now, you can run the RCA cables to the driver’s side of your car to prevent signal interference from the amplifier power cable.
STEP 6
Install the amplifier. Note that this may be pretty tricky because it requires a direct line the battery. If your car doesn’t have a hole on the floor, you can drill in one. Proceed to install the fuse box close to the battery. Now, run the red power wire from the battery through the hole in the floorboard or wherever it is (probably down the passenger side of the car interior.) Do not connect the red wire to the battery at this time.
STEP 7
It is usually great to install the amp in the trunk, that’s where you’ll need the metal screws. If you own a speaker box, screw it into the box. However, if you don’t, find a spot in the trunk on the battery side of the vehicle where a screw won’t make a hole in the outside of your car.
STEP 8
Proceed to take care of the auxiliary power from the amp. Note that the color differs from manufacturer to manufacturer. Do well to plug in the RCA cables to the amp, then connect the amp power cord to your car’s red battery harness. Connect the red power wire from the former stereo to the red power cord on the new one. Install the stereo receiver to the dash.
STEP 9
Reconnect your battery, turn on your car and test the newly installed sound system.
In all, setting up a car stereo system is not as hard as you think. All you need is the right sound components, useful tool, and relevant information (which we’ve provided here). Go on to install your, and enjoy the ride!
If you would like more information, you can always check out sakerracing.com