When some of the lights on your car are not working, it is always a big problem. First of all because you are putting yourself and others in danger, and then because you can be pulled over by the police and get hefty fine. The problem is especially big if there is malfunction of the tail or brake lights. They each have their very important role to play, and in addition to being pulled over by the police, it is very possible that you will also have to contact your insurance company. Wondering why? Well, because it can easily happen that you are rear-ended by another driver, who will not notice you as a result of malfunction.
In order not to find out about these problems only after you have been involved in a car crash or you are stopped by the police, we will tell you what are the warning signs that a replacement is needed. We will also explain the difference between tail and brake lights, how you can change them and how best to maintain them. All of this will help you never get into trouble again as a consequence of broken tail lights.
The difference between tail and brake lights

Source: rachelwayne.medium.com
Because they are positioned next to each other, people often do not know how to properly distinguish one from another. This varies from manufacturer to manufacturer but very often they have common external covering so it is clear to you whey they are often confused. Tail ones light up automatically when you turn on the headlights or when the parking break is on. While the brake lights turn on every time you even slightest touch the brake, to signal the drivers behind you to slow down. Although both tail and brake are red, they usually differ in that the brakes are more luminous red.
Warning signs you need to replace them
There are two signs that they need to be replaced.
Source: cashcarsbuyer.com
1.They do not work when the headlights are on
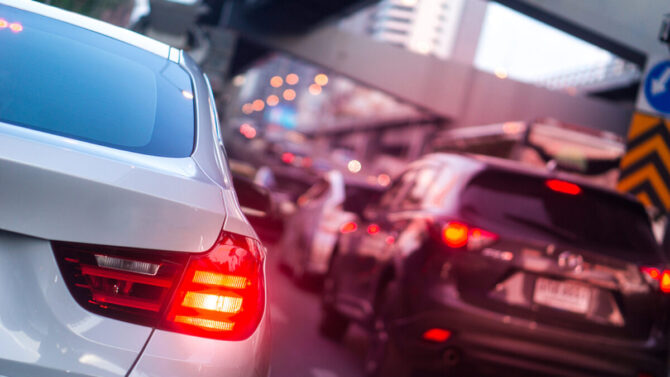
Like we said, they should turn on automatically when you turn on the headlights, if all is working properly. So if you notice that they didn’t light up at that moment, it is very possible that it burnt out or that a short circuit occurred. You can replace them yourself or you can let the mechanic do it for you. We will explain how to replace them later in the text.
2. Brake light does not work
It can happen that the tail and brake lights affect each other because they are next to each other, so an inspection of both is needed to determine what is not working. For example, it may happen that in the case when the parking lights are working and the brake one is not working, it is actually the tail lamp bulb that is causing the problem and need to be replaced. The cause can be a malfunctioning fuse or a short circuit for example. Worn out wiring, socket failure and a few more things can also be cause of the problem and you should address every of that potential causes until you find the culprit.
How often you should perform check?
Source: autotechreview.com
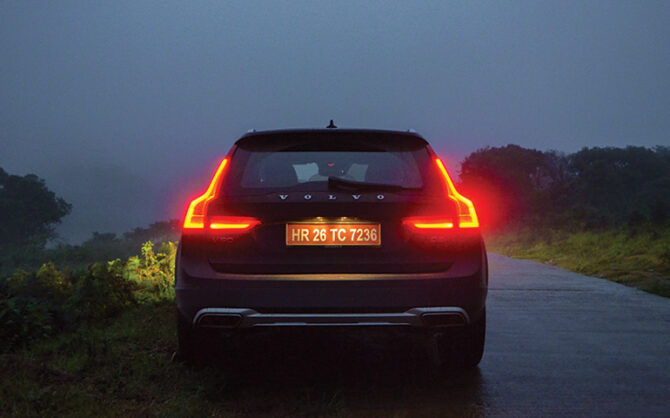
If you do not do a regular inspection, you will find it difficult to notice the fault, so it is necessary to check every few days. It is best to set one day a week when you will do this. Otherwise, you will find out about it only when the police officer informs you about it, and then it is too late. It’s good to have someone to help you with this, because someone has to press the brake while you check.
How to change it?
Tail light bulb replacement is not a complicated job and if you have everything you need you will probably be done in less than an hour. You have to have all the necessary tools, which usually include a screwdriver and socket wrench and of course a new bulb. It is up to you to choose whether you will buy a new or used bulb. If you buy a new one, you will probably get warranty as well, but it is a more expensive option. There are also very good used ones. On the website oemautomotivelighting.com you can see both new and used ones, so it will help you decide what suits you best.
Prepare everything
Source: carparts.com
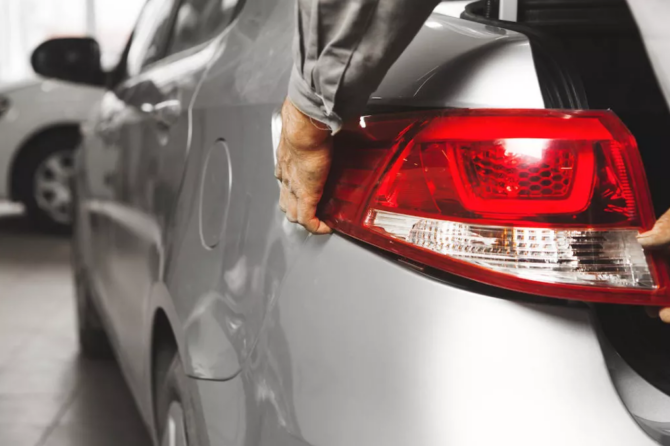
First of all, it means taking all necessary security measures. This is certainly not a dangerous task, but you should always be careful. You have to disconnect the car battery. Then you will be sure that there is no risk of electrocution. When you have done that, prepare everything so that it is “comfortable” for you to replace the bulb. It is best to do it in a well-lit place. Or you can use a flashlight, preferably one that you can attach to the head.
Remove holders
Once you’ve accessed the bulb from the trunk and after you’ve removed the panel that exists on some car models, it’s time to remove the bulb holders. You just have to move them clockwise. Then you will be able to remove the burned-out bulb. While doing this, use gloves, to avoid possibility of being cut by the bulb, if it is damaged. Also, when holding a new bulb, it is better to do it in gloves so as not to smear it, which affects its service life.
Remove assembly
You still have to remove the assembly, and this can be problematic if the nuts have rusted for example. The oil will help you unscrew.
Finish the job
Source: cx3forum.com
Now is the time to put everything back in its place. When screwing nuts back in place, do not do it too tight or loose. If they are too tight, they can crack, either nuts or assembly, and if they are loose, they can fall off while driving. Finally replace the holders and congratulations. Job well done.
Conclusion:
It is very important that you regularly pay attention to all the signs that your car gives you, so that it is always in perfect condition. Then you won’t have to worry about being stopped by the police or the insurance company refusing to pay you compensation.


